Enter your location for the fastest, most accurate service

Hunter Brand Guidelines

Photos


For questions or concerns, contact brand@hunter.com


General Guidelines

Create high-quality, high-resolution images that promote Hunter and our products. Show the product and features in the best studio light or “on location” photos.

  • Key Elements

    Color: Natural and balanced, for a normal look. Avoid using red vehicles on red alignment racks that would overshadow Hunter brand red.


    Composition: Capture the full equipment as well as close up details. Level the orientation in vertical or horizontal formats. Do not use “artistic angles” when composing.


    Lighting: Lighting should be bright enough to show details in shadows without blowing out highlights. Ensure contrast is natural and real, not harsh or dramatic. Opt for brighter imagery with color pop over darker styles.


    Resolution: Always shoot at your camera’s highest resolution and if possible, in a RAW format.


    Filters: Do not use any filters or effects — natural looking photos are key.

  • Editing

    Processing: Process RAW format files for best quality of lighting, white balance, and detail. Archive RAW file and processed JPG files separately.


    Photoshop Files: Save Photoshopped files in a .PSD format with all edited layers included.
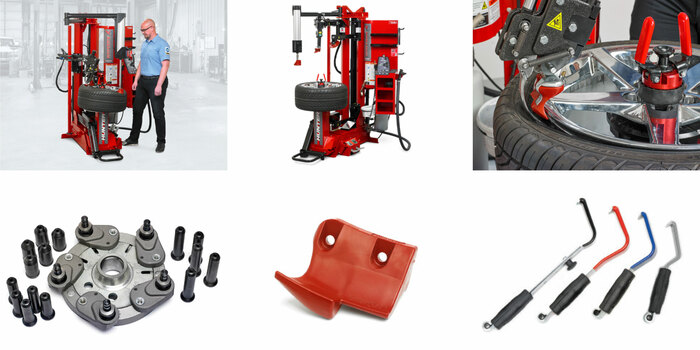


Studio Photography

Shot in a controlled environment, Hunter studio photography aims to show products and equipment in a way that defines the core features and functions.

See the guidelines

Cover shot of equipment in use with technician wearing a technician shirt, dark pants and safety glasses

Mugshots show front, right and left of product, outlined and void of background

Feature/detail photos vary by product, dependent on function and needs

Accessory photos show small parts on white background with natural shadows and in use versions as needed

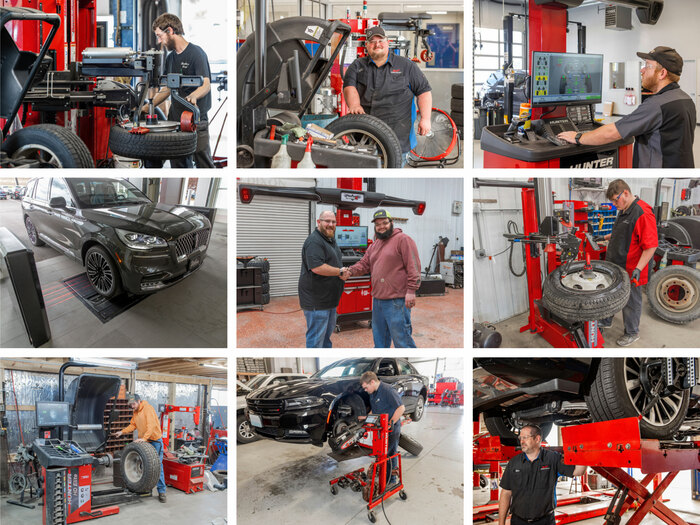
Real-Shop (Customer Location) Photography

Seeing Hunter products in actual shops around the world shows real technicians using the equipment along with realistic expectations in terms of what it may look like in another shop.

See the guidelines

Photos of equipment in use in shops with technician wearing shop uniform 
(if available) and safety glasses. (Safety glasses and any other necessary 
safety gear are required)

Ideal shots include shop elements around Hunter equipment. If possible, remove smaller unnecessary items such as trash cans, water bottles, soda cans, etc. There is no need to clean equipment or the shop — it should still look real.

Proper procedures ensure that photos are accurate. (Using a tire changer as an example) Instruct technician to start process of tire change. Take photos of entire process of tire change showing entire machine/tech from different angles and heights/levels. Repeat entire process taking detail photos (close up), focusing on tools, buttons, accessories, etc. Even with close-up shots, always leave room around composition to allow for cropping as needed.

Technicians smiling always make for better photos.

Avoid incorrect procedures such as a technician doing a turn steer by turning wheels by hand rather than steering wheel.

If a Hunter Representative is present, take photos of them interacting with shop personnel - shaking hands, smiling, training, etc.

Take photos of outside of building including shop sign/name. 

Signed photography release forms are required anytime people are being photographed, as is a release form for any location not owned and operated by Hunter Engineering. Reach out to contact.hunter@hunter.com for more details.


To give you the best experience, this website uses cookies. By continuing to use this website, you are giving consent to cookies being used.
For information on cookies and how we use them, please visit our privacy statement and our terms of use